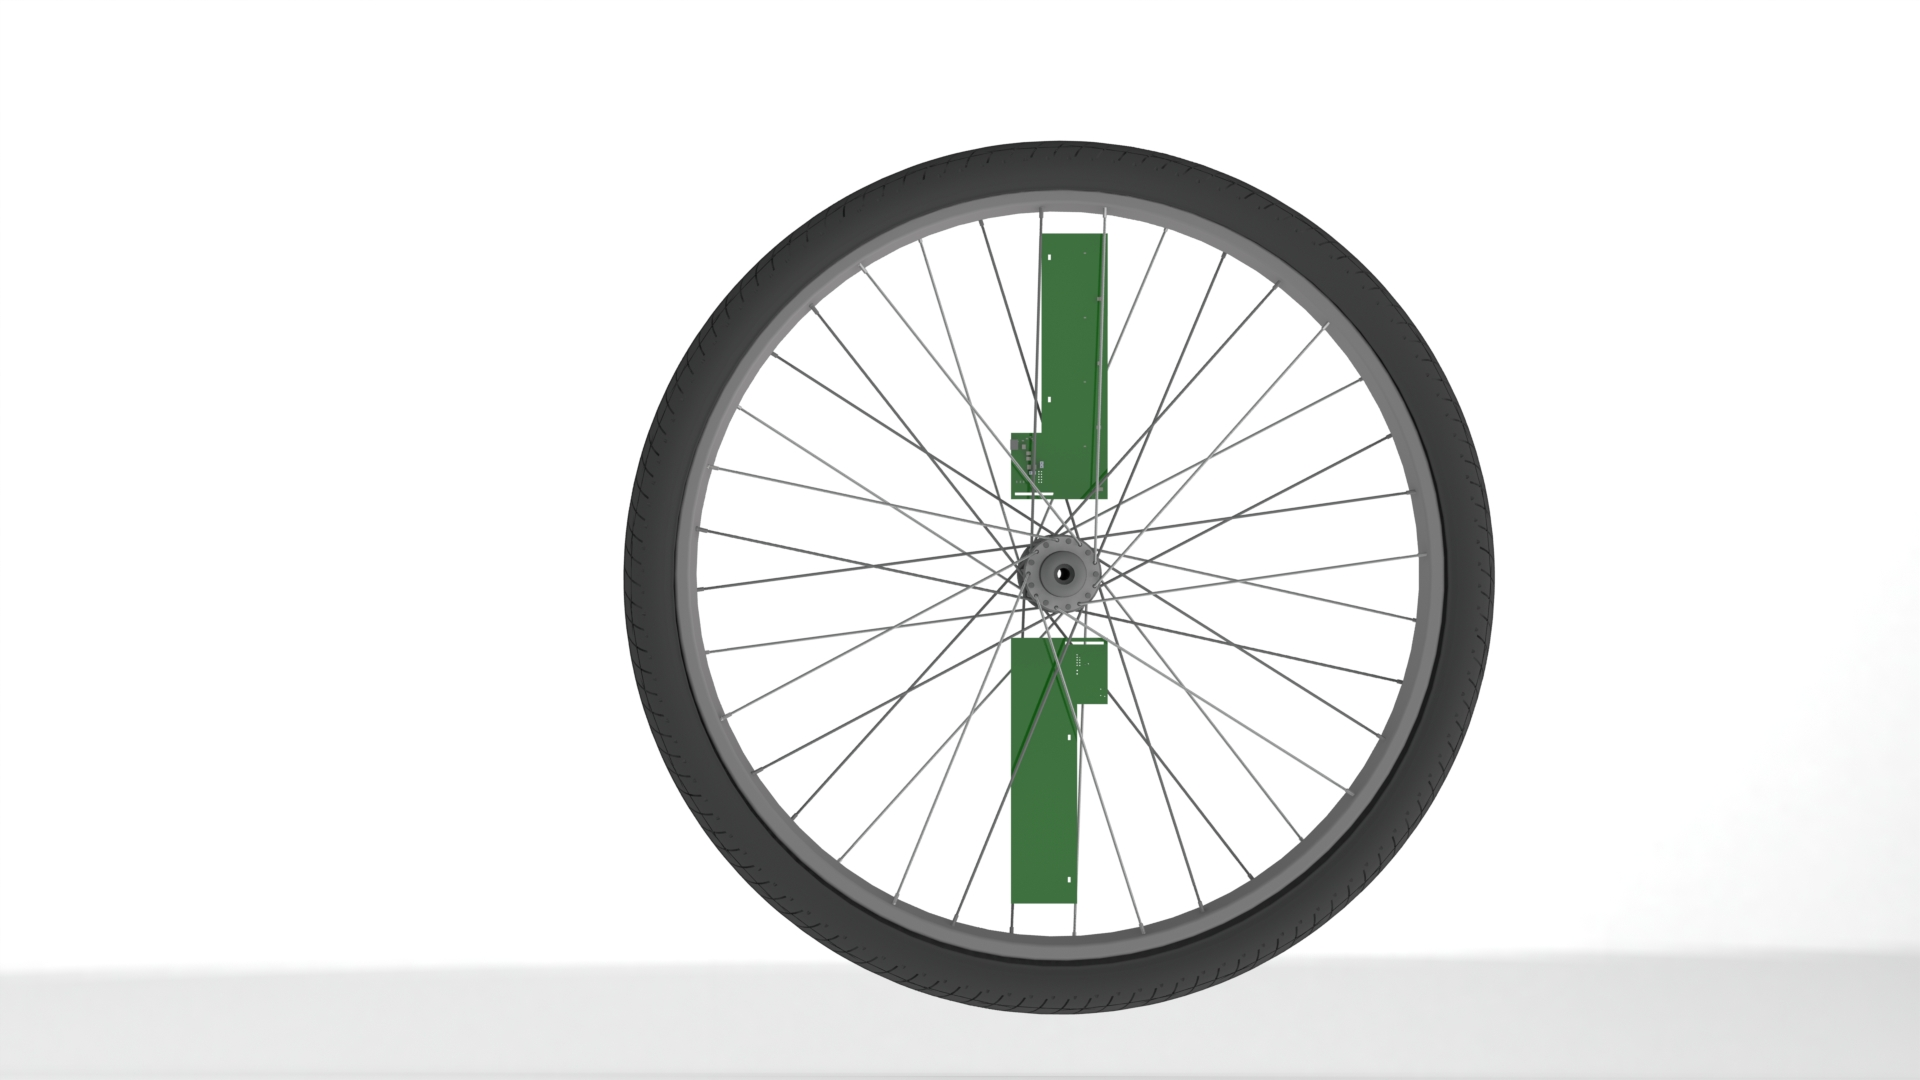
Bike POV is a design to create fancy animation on a bicycle wheel by mounting multiple RGB LED’s. Persistence of vision (POV) is a phenomenon by which multiple images which are moving fast combine to form a single image in the human brain. POV’s for bicycle wheels are not new, and there are already tried and tested products that you can buy that are pricey. I am an electronics engineer, and I love twiddling with circuits and buying one of the shelves at least in this case would be no fun. I am documenting the development process in this post and a few other posts in the future.
Drawing Board
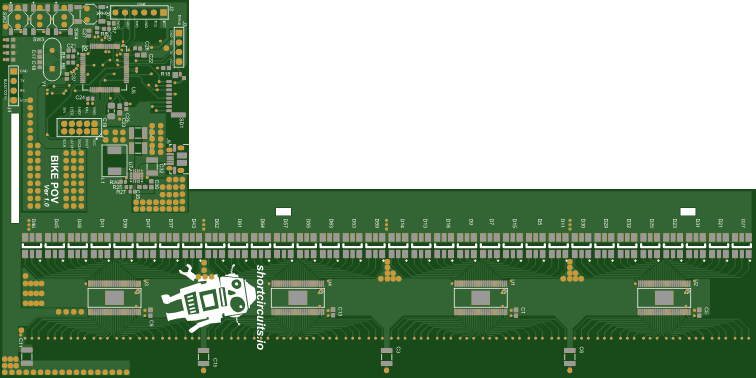
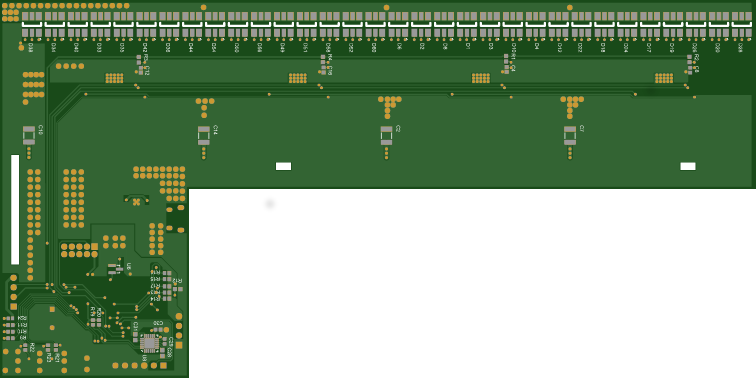
I had first thoughts about designing this when I came across a product on the internet, and I was fascinated by it, and I wanted to show off similar disco lights on my bike too as I rode through to college. I initially started with a four arm design that would have a total of 256 LED’s, but then I felt that would make it complicated with regards to inter-board connections. As a result, I decided on a two arm board design with 128 LED’s, i.e. 64 LED’s per arm with 32 on each face of the board.
PCB Design
Eagle has been the standard PCB design tool used by hobbyists for a long period, and currently there are is a lot of work going on KiCAD, a open source initiative. I have never tried KiCAD, but I have been using Eagle for a long time. During the time I started with this design, I came across CircuitMaker from Altium that was still in the early beta stages. I had tried Altium in the past, and the similarities between the two tools convinced me to take it for a spin, and I went ahead and designed the board with CircuitMaker. I would say that I am impressed with the tools that are provided by the software, and I definitely would recommend you to try it as long as you are not paranoid about your data being on the cloud.
System Design
At the core is a Cortex-M4 microcontroller STM32F411RET6 from STMicoelectroincs. It runs at 100MHz and has 128 kB of RAM and 512 kB of flash. The deal breaker was that it was the same chip that was used in a Nucleo development board, and this would help me in prototyping my code. The power supply was designed using TPS62095 from Texas Instruments. It is buck regulator capable of delivering 4A and can operate on 5V input power supply. Since we will be driving LED’s and we do not have the necessary io’s to directly control, I used TLC5955 also from Texas Instruments. TLC5955 is 48 channel LED driver with brightness control, and it can control 16 RGB LED’s. I used a hall effect sensor to monitor the speed of the wheel. I also had a MPU6050 included so that I could also use the gyroscope to measure the speed. I additionally added a few features like a sd card and few pinouts for supporting a Bluetooth module.
I got the PCB manufactured by Seeedstudio, and you can see the results below.